Embossing Tool
I made an embossing tool to press a logo into some certificates. The logo is pressed into a foil sticker that’s applied to the certificate, and makes it look a lot more special than a simple laser-printed one would.
Design
The logo is from my fencing club, and I needed some course completion certificates to give to some new beginners. I imported an image of the logo into Autodesk’s Fusion 360, which is currently my preferred CAD package for many simple jobs (although I also use Solidworks for other stuff).
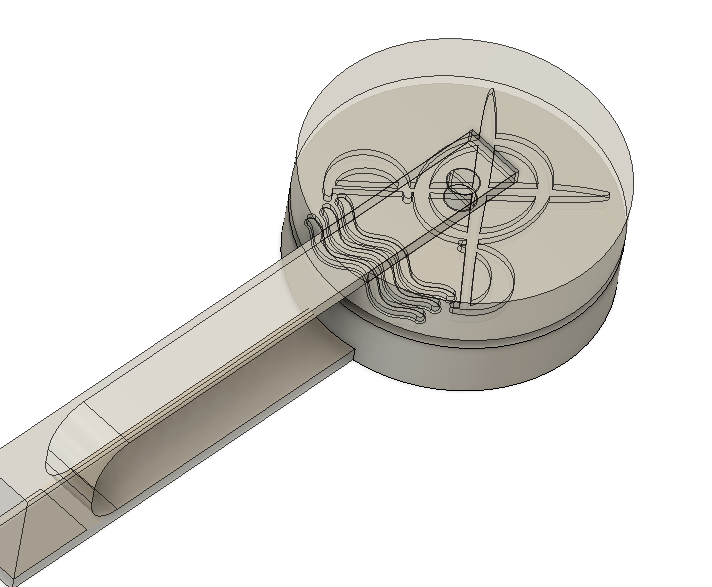
The next step is to sketch around the logo and extrude it to create the tool. The opposite face is the negative of the top tool. I found that setting the faces back by about 0.2mm and adding 10degrees of chamfer gave the best results for the certificates that I wanted to make.
Since alignment is critical for this tool to work properly, I added a third part with clip details to allign the two parts of the press. It’s relatively thin so is flexible enough to work as a hinge without any extra effort.
Manufacture
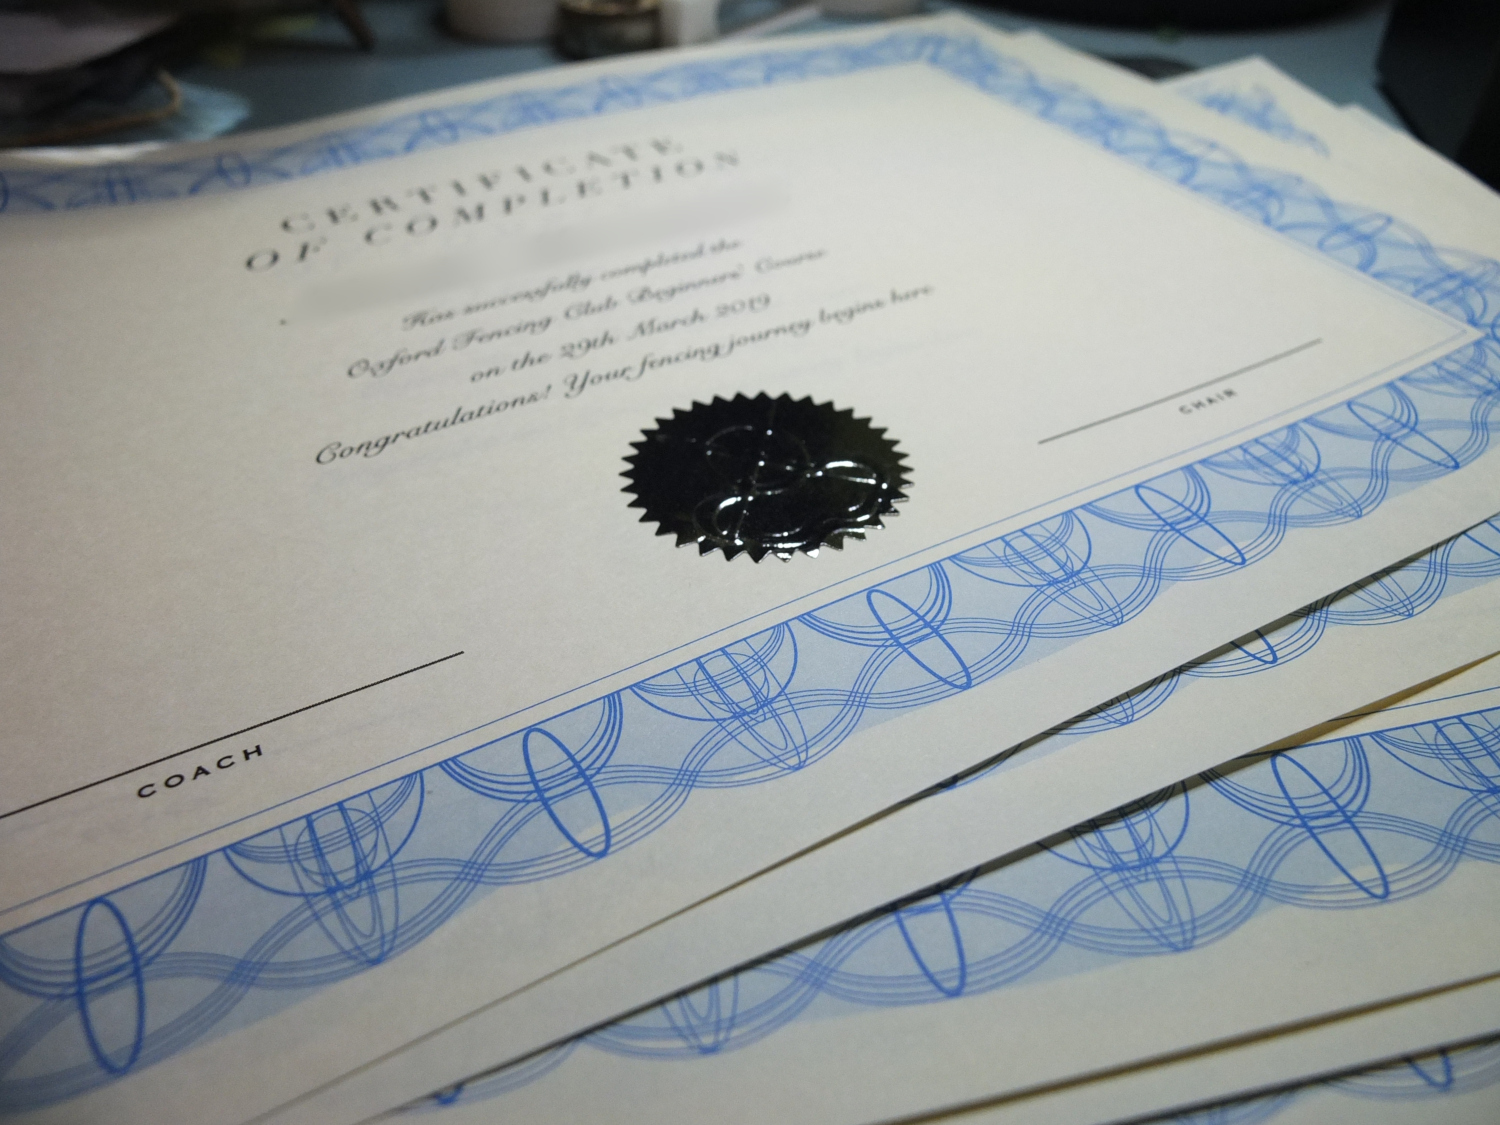
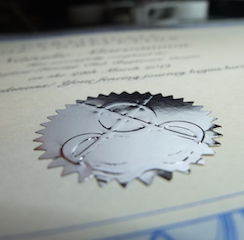
I used my 3D printer to make the parts in PLA with 80% fill to ensure that there’s plenty of strength in them. I bought the certificates from Amazon, and they have a printed border and foil stickers. The idea is that you print the text onto the certificate and then apply the foil sticker. I embossed the logo into the foil sticker before applying it to the certificates. 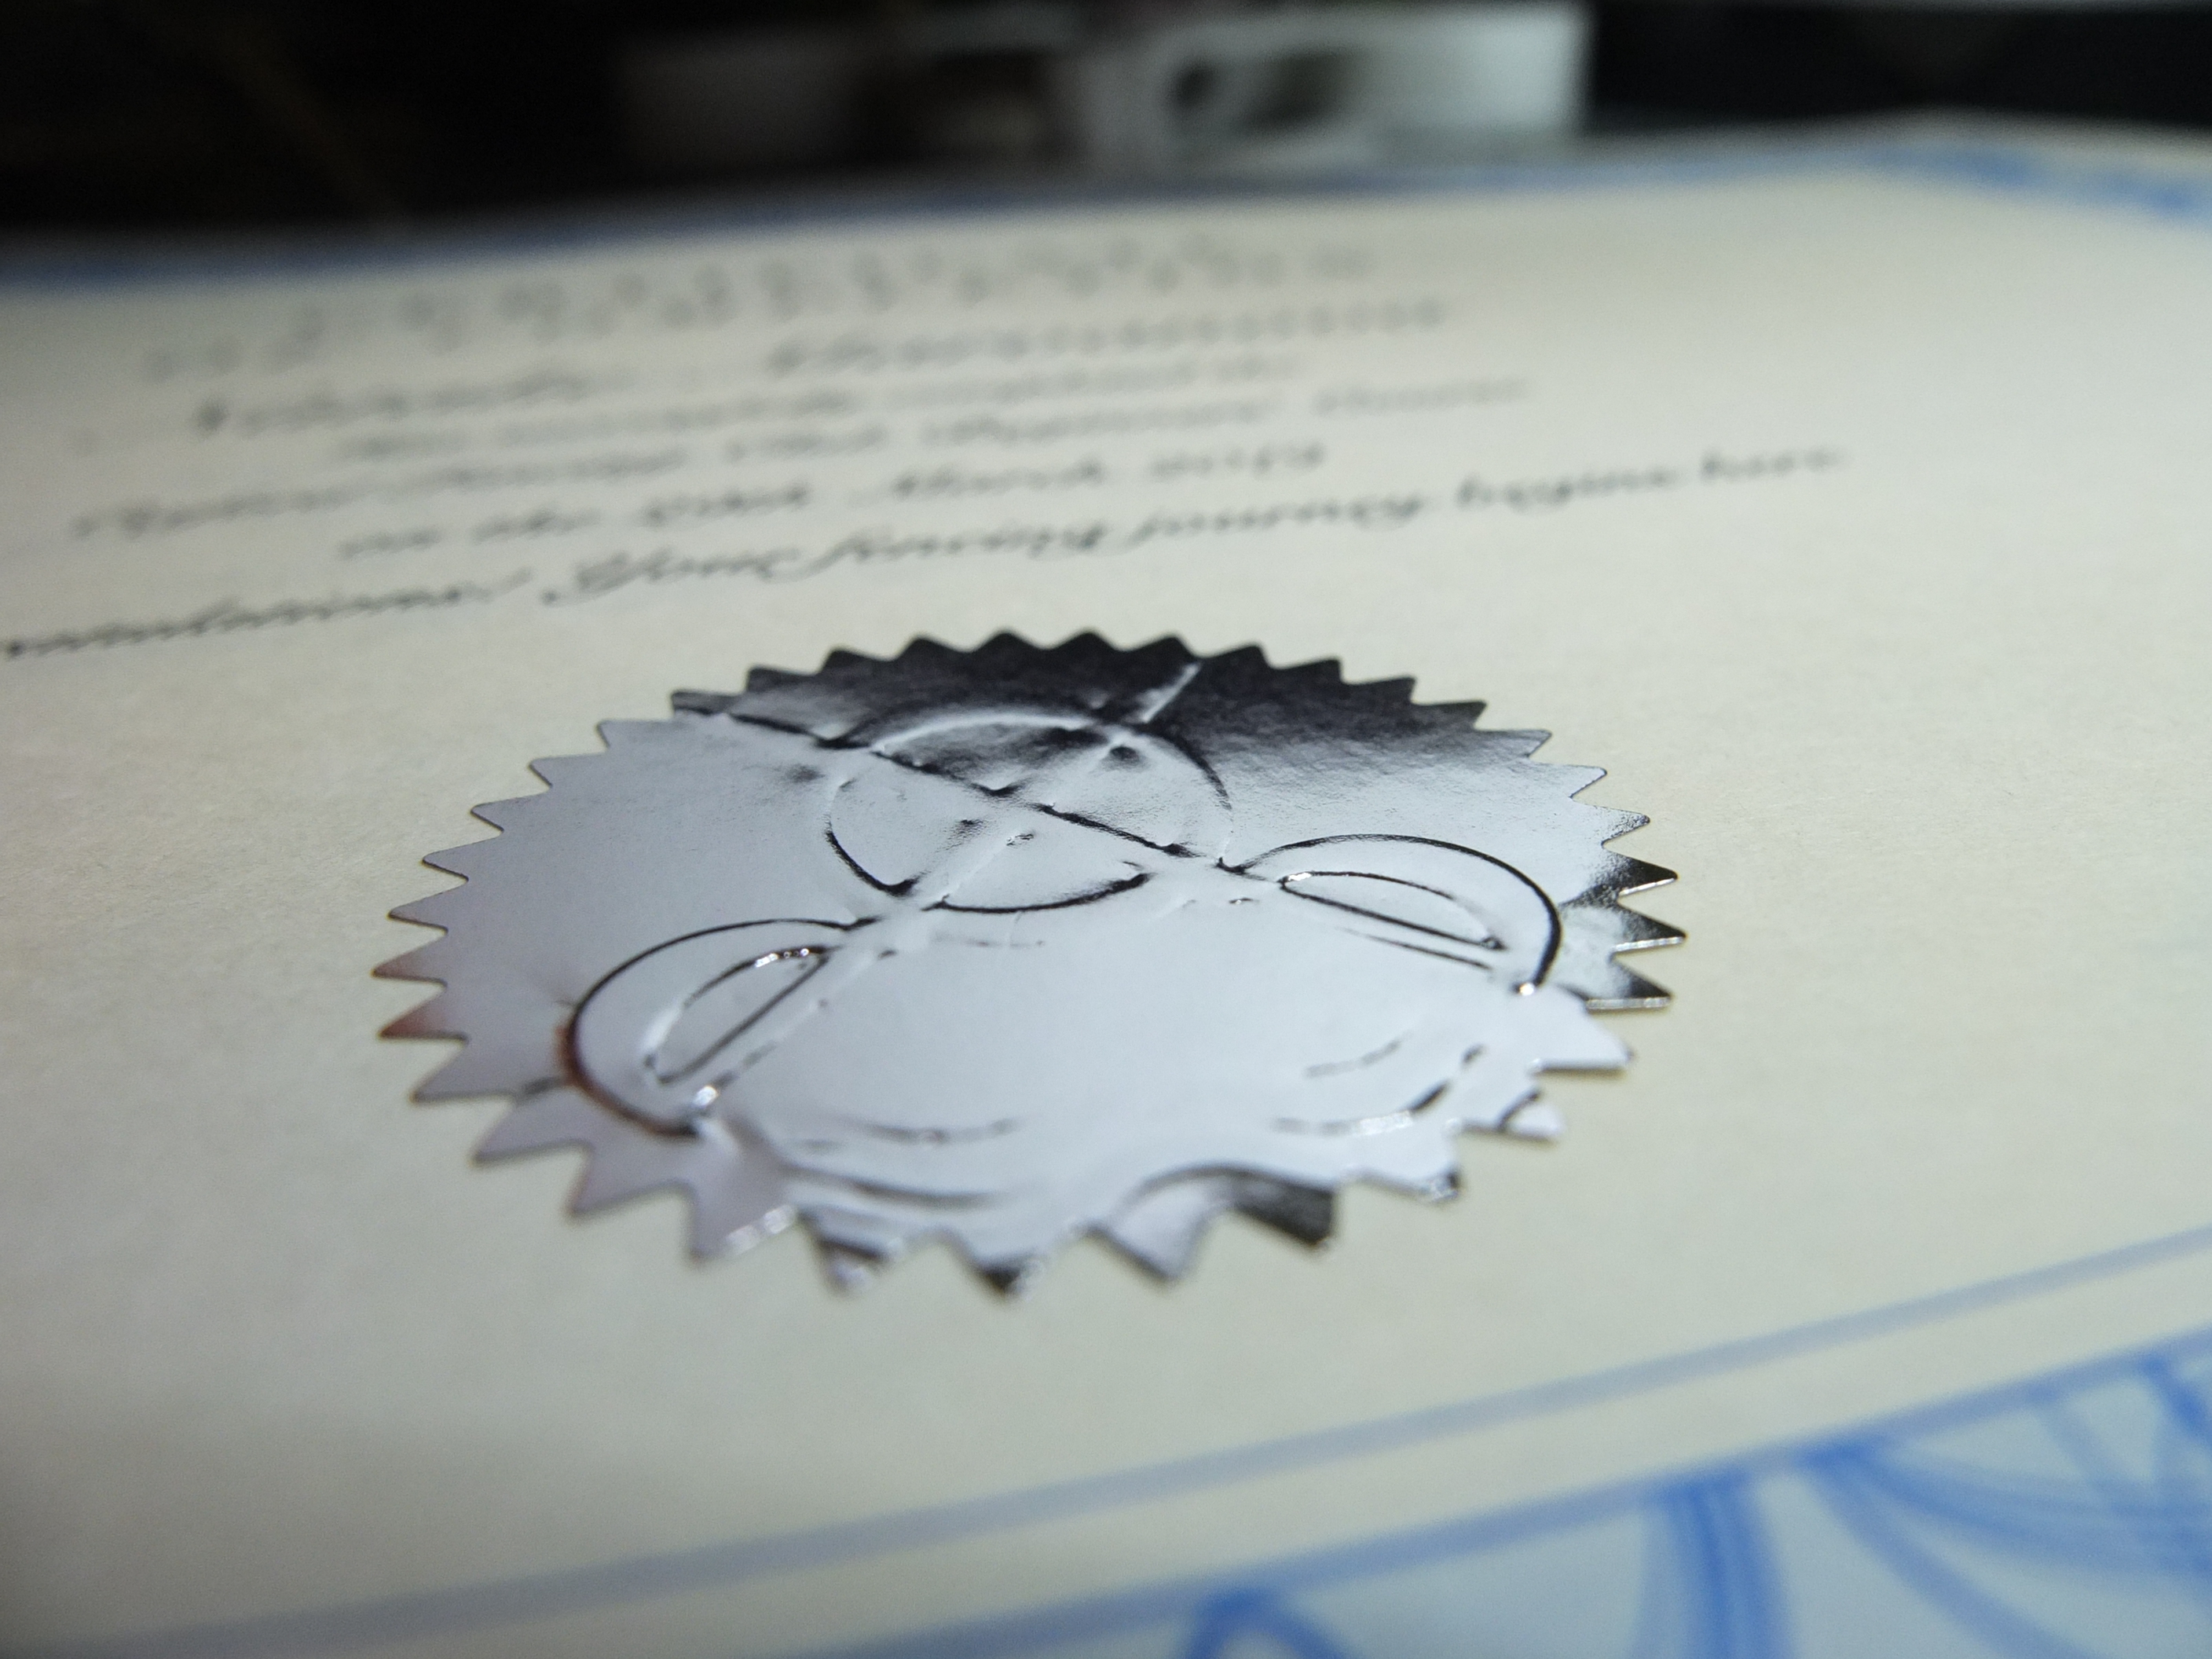
Finished Product
The certificates turned out great, and look very professional.